


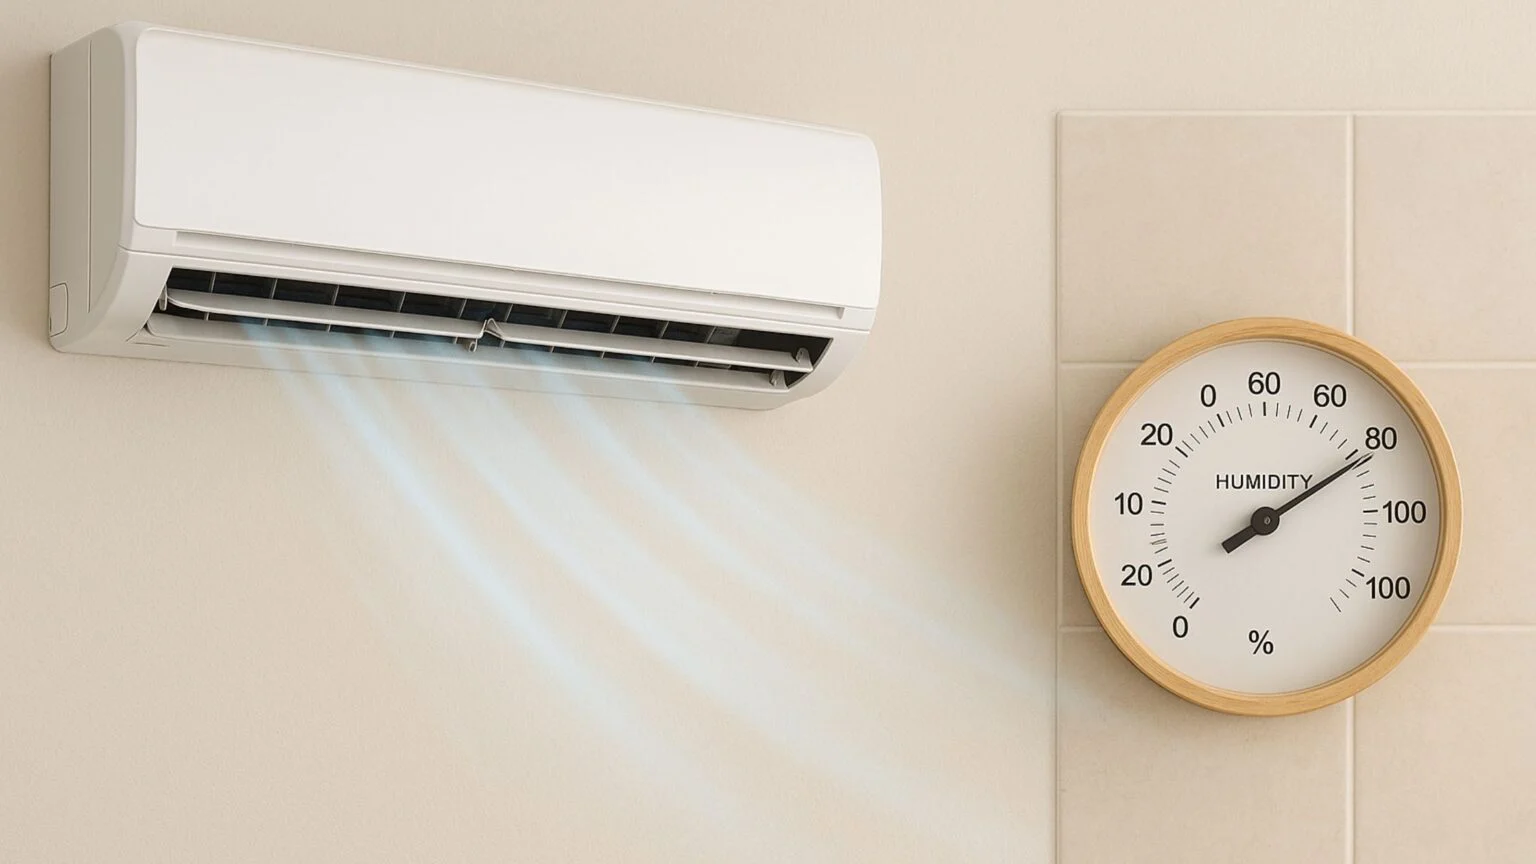
On the Gulf Coast, cooling is about more than dropping the thermostat a few degrees. If indoor air stays clammy, you can end up with chilly rooms that still feel uncomfortable, musty odors around supply vents, and fogged windows after a summer thunderstorm. That sensation signals a dehumidification problem, not just a temperature issue. Understanding how air conditioners remove moisture, the settings that affect that process, and the maintenance tasks that keep it working can help homeowners fix sticky air complaints without guesswork.
-
Signs Your AC Is Cooling But Not Dehumidifying
A home can hit the thermostat setpoint yet feel damp. Common signs include cool rooms with a film of condensation on registers, a musty odor near the air handler, and indoor hygrometer readings that hover high despite steady cycling. You might also notice short, frequent AC cycles on mild mornings or evenings, followed by sticky-feeling air even when the thermostat says you are comfortable.
Another red flag is water where it should not be: a sweating supply plenum, a condensate pan that frequently overflows, or algae building up in the condensate drain line. These moisture points aren’t being carried away from the evaporator coil, or air is moving too quickly across the coil for proper latent heat removal.
-
Why Gulf Humidity Overwhelms Underserved Systems
Homes in and around Beaumont, TX endure long stretches of high outdoor humidity. In that environment, runtime and moisture removal matter. Oversized single-stage systems often reach the setpoint quickly and then shut off, leaving little runtime to remove moisture. The result is cool but clammy rooms, especially on shoulder-season days when the sensible load is low but the latent load remains high.
Airflow also shapes the balance between cooling and dehumidification. Higher blower speeds push more cubic feet per minute across the coil, favoring temperature drop over moisture removal. Lower airflow increases contact time and can improve dehumidification, but too low a setting risks coil icing and reduced capacity. Add duct leakage that pulls humid attic or crawlspace air into returns, or a restrictive high-MERV filter that starves airflow, and the system can struggle even with the correct refrigerant charge.
-
Homeowner Checks: Airflow, Fan Settings, and Drainage
Start with the simplest control: thermostat fan mode. If the fan is set to On instead of Auto, the blower runs between cooling cycles and can re-evaporate water from the evaporator coil back into the airstream. That single setting can turn a comfortable room into a damp one. Check supply and return registers next. Closed or covered supply vents raise static pressure and can reduce airflow through the evaporator coil, compromising dehumidification while stressing the blower motor.
Then look at the air filter and condensate system. A dirty or overly dense filter may choke airflow; a clean, appropriately rated filter helps preserve the target CFM per ton across the coil. Inspect the drain pan and PVC drain line for algae buildup or kinks. Flushing the line with a mild solution like distilled vinegar and clearing the trap can restore reliable drainage. If the outdoor unit’s suction line lacks intact insulation, replace it to prevent unwanted condensation and capacity loss.
-
Corrective Actions: From Blower Tuning to Dehumidifiers
Once basic checks are done, adjustments that target moisture removal can help. Many air handlers allow blower speed changes; reducing blower speed slightly can extend coil contact time and improve latent removal. Because too-low airflow can ice the coil, make changes gradually, and check supply and return temperatures to confirm a healthy temperature split. If your system uses a variable-speed blower and a thermostat with humidity control, enabling dehumidify mode can automatically slow airflow as indoor relative humidity rises.
If short cycling is the main culprit, staging and modulation matter. A two-stage or variable-capacity compressor runs at lower output for longer periods, promoting steady dehumidification without frequent starts and stops. Where the load is modest, but moisture is relentless, adding a whole-home dehumidifier to the supply or return plenum is another option. The trade-off is energy use: a dedicated dehumidifier adds electrical consumption but delivers stable indoor humidity even when the AC would otherwise barely run. In homes with a thermal expansion valve (TXV), ensuring the valve meters refrigerant properly helps maintain coil conditions that favor moisture removal; with a fixed orifice, precise charge becomes even more critical.
-
How Ducts, Infiltration, and Insulation Skew Humidity
Leaky return ducts in a vented attic can drag in hot, wet air that the system must wring out every cycle. Supply leaks waste cooled, dried air to unconditioned spaces, forcing longer runtimes to achieve the same indoor conditions. Sealing duct joints with mastic and insulating attic runs reduce both moisture load and sensible load, improving comfort and equipment longevity. Similarly, unsealed rim joists or gaps around recessed lights allow infiltration that can nudge indoor humidity upward on stormy afternoons.
Attic insulation and air sealing affect runtime patterns. An underinsulated attic lets heat gain quickly, pushing the AC to run hard in bursts. The unit may meet the thermostat setpoint but never run long enough to dry the air thoroughly. Better attic insulation and sealing bypasses create steadier runtimes that support dehumidification and reduce room-to-room temperature swings.
-
Two Real World Scenarios and What Solved Them
In a single-story bungalow, a large single-stage unit blasted the space to setpoint in minutes each morning, then shut off. By midafternoon, after a pop-up storm, rooms felt cool yet sticky, and the supply plenum sweated. The fixes were practical: switch the fan to Auto, reduce blower speed one tap to increase coil contact time, and reseal a leaky return elbow in the attic. Longer, quieter cycles followed, and indoor humidity settled into a comfortable range even on damp days.
Another homeowner ran the blower in On mode for “air circulation,” then battled musty odors and elevated humidity despite normal cooling. The AC’s evaporator coil was clean, but the condensate trap was partially blocked, and several bedroom vents were closed to “push air” elsewhere. Restoring the trap, opening vents, installing a properly rated filter, and returning the fan to Auto eliminated re-evaporation and brought moisture control back in line.
Maintenance Habits That Protect Cooling and Comfort
Humidity control improves with routine care. Check your filter monthly and replace it before it’s clogged; note that very high MERV filters can increase static pressure in systems not designed for them. Clear the condensate line each cooling season, and consider tablets that limit algae growth in the drain pan. Keep the outdoor condenser free of grass clippings so it can reject heat efficiently, and make sure the suction line insulation is intact to prevent sweating and energy loss.
Once a year, have a qualified technician measure total external static pressure, confirm blower speed settings, inspect and clean the evaporator coil, and verify refrigerant charge. If you use a smart thermostat, enable humidity setpoints when available. A basic indoor hygrometer helps you spot trends; if readings stubbornly hover in a damp range despite a well-maintained system, discuss options like blower tuning, duct sealing, or a dedicated dehumidifier. Taken together, these steps make “cool but sticky” days far less likely and keep comfort consistent through a long Gulf Coast summer.

